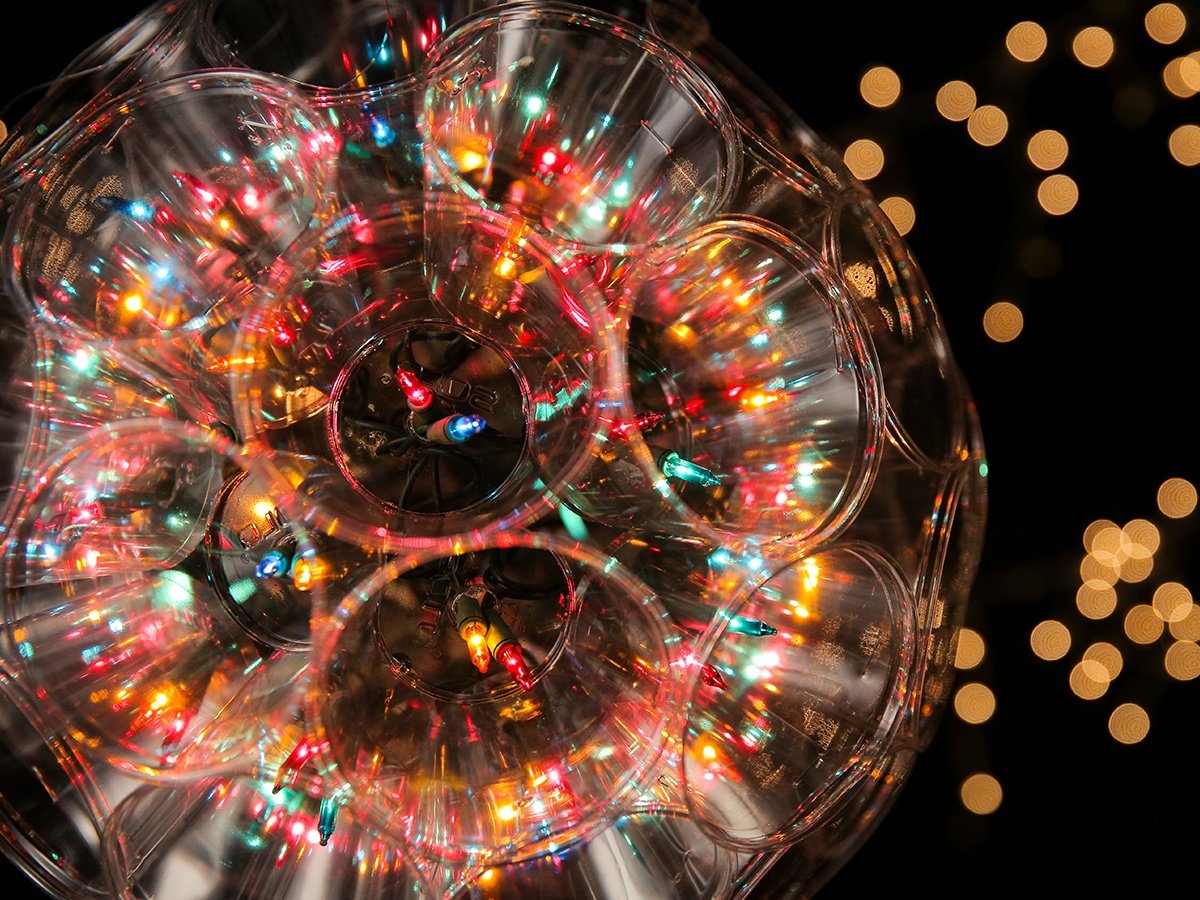
Looking for a fun, budget-friendly way to light up your home for the holidays? SOLO's DIY Holiday Light Ball is the perfect way to add flare to your decorations that will not only bring holiday cheer, but impress all your family and friends! While it looks intricate, it's super simple to create. Why don't you give it a shot?

Supplies:
- Fifty 9 oz Solo Clear Plastic Cups
- 2 packs of 50 indoor/outdoor mini lights
- 5/16" staples
- Ribbon
Directions:
1. Slowly drill a 3/8" hole in the center of of the bottom of each Solo cup
2. Lay 12 Solo cups side by side, forming a ring or wreath. Where 2 cup sides touch, staple together near the rim.
3. Place 9 Solo cups on their sides on top of the first layer. Staple each cup to the cup next to it and under it, remembering to staple near the rim.
4. Add 4 more Solo cups to complete 1/2 of your DIY Holiday Ball.
5. Repeat steps 1-4 in order to create the other half.
6. Install the lights by pushing 2 lights through each cup on both halves of your ball, noting not to worry if the cups crack. Connect the light sets from each ball half.
7. Place the halves together and staple the contacting cups near the rim, leaving the light's plug hanging out.
8. Close gaps in the ball by adding more staples as needed.
9. For hanging, make a loop with your ribbon and attach to the ball with staples.
10. Hang up and enjoy!
Looking for more ways to Solobrate the holidays? Check out all the ways you can Throw a Very Merry Holiday Party!

