Guest post by Nicole Triebe of Windy City Dinner Fairy
We’re preparing for the coldest temperatures in 10 years here in Chicago, and I don’t plan on leaving the house if I don’t have to. One of the best things about quitting my day job and pursuing Windy City Dinner Fairy full time is not having to make the hour commute downtown every day. Especially in the dead of winter. I don’t miss putting on three (yes, three) pairs of pants, two pairs of socks and the puffiest puffy coat you can buy to make that trek for months at a time. I still remember my feet being numb for hours after getting to work, only to have to go back out in the cold a few hours later.
Needless to say, working for myself has its perks. So while everyone is off to work tomorrow, I’m going to be in my toasty kitchen decorating these adorable Polar Bear sugar cookies. These are perfect to make with the kids, too! (and a great way to spend a snow day from school!) I’m partnering with Solo to show you how to make these super cute treats to cure your winter blues.
If you’d like, you can use store bought sugar cookie dough for these polar bear sugar cookies, if you want to go homemade, I’m including a soft sugar cookie recipe down below!
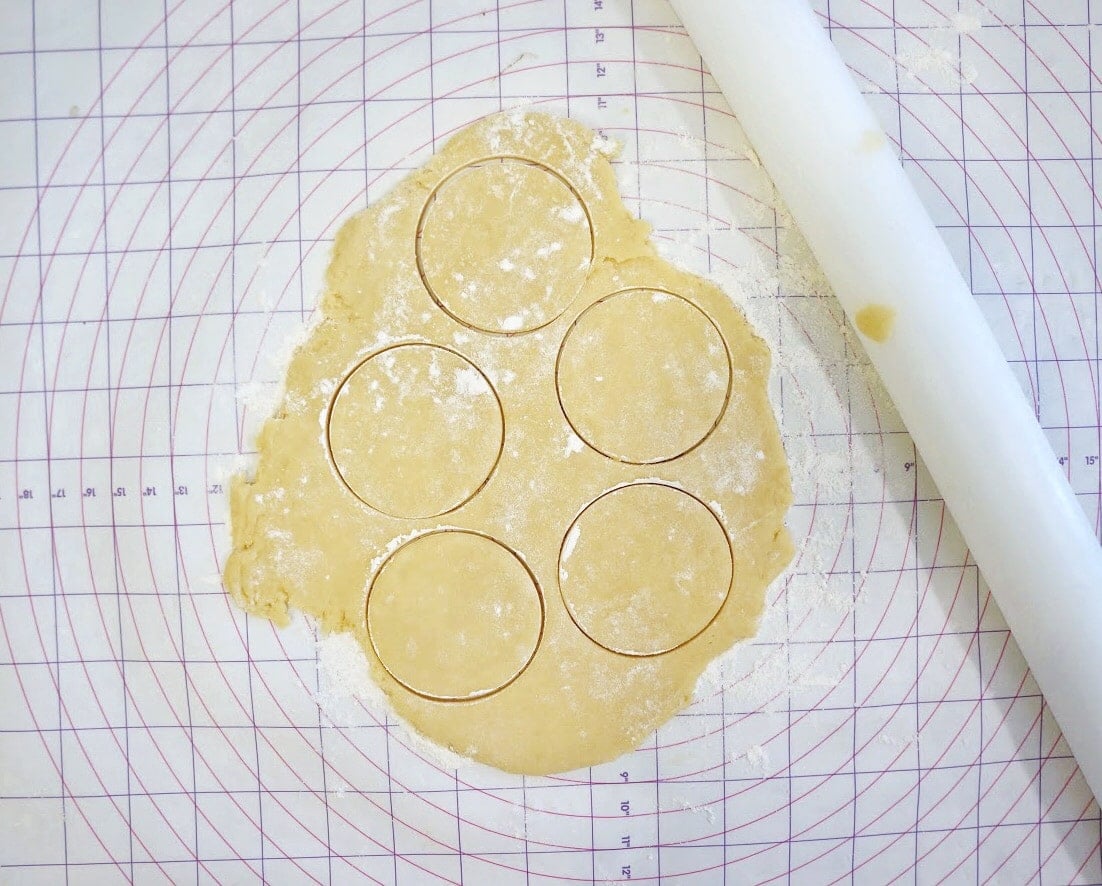
How do you roll out sugar cookies?
If you’re going the homemade route, make sure your dough has chilled for at least overnight, if not 24 hours. I made things a little easier on myself by rolling my dough between two fondant mats. If you don’t have a fondant mat or a silpat, you can also use two pieces of parchment paper. Flour each surface and roll between the two mats/paper. It makes it so much easier and less messy. Dip the cutter in flour in-between each cookie to make things even cleaner.
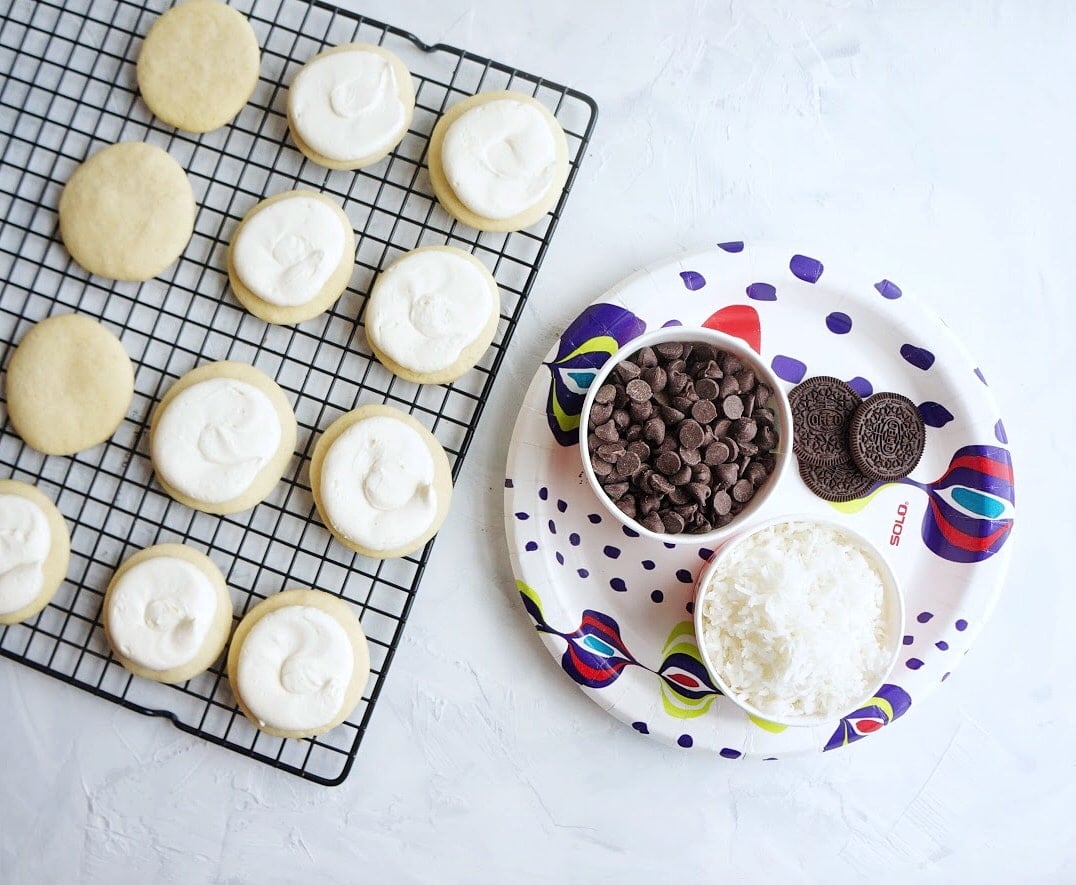
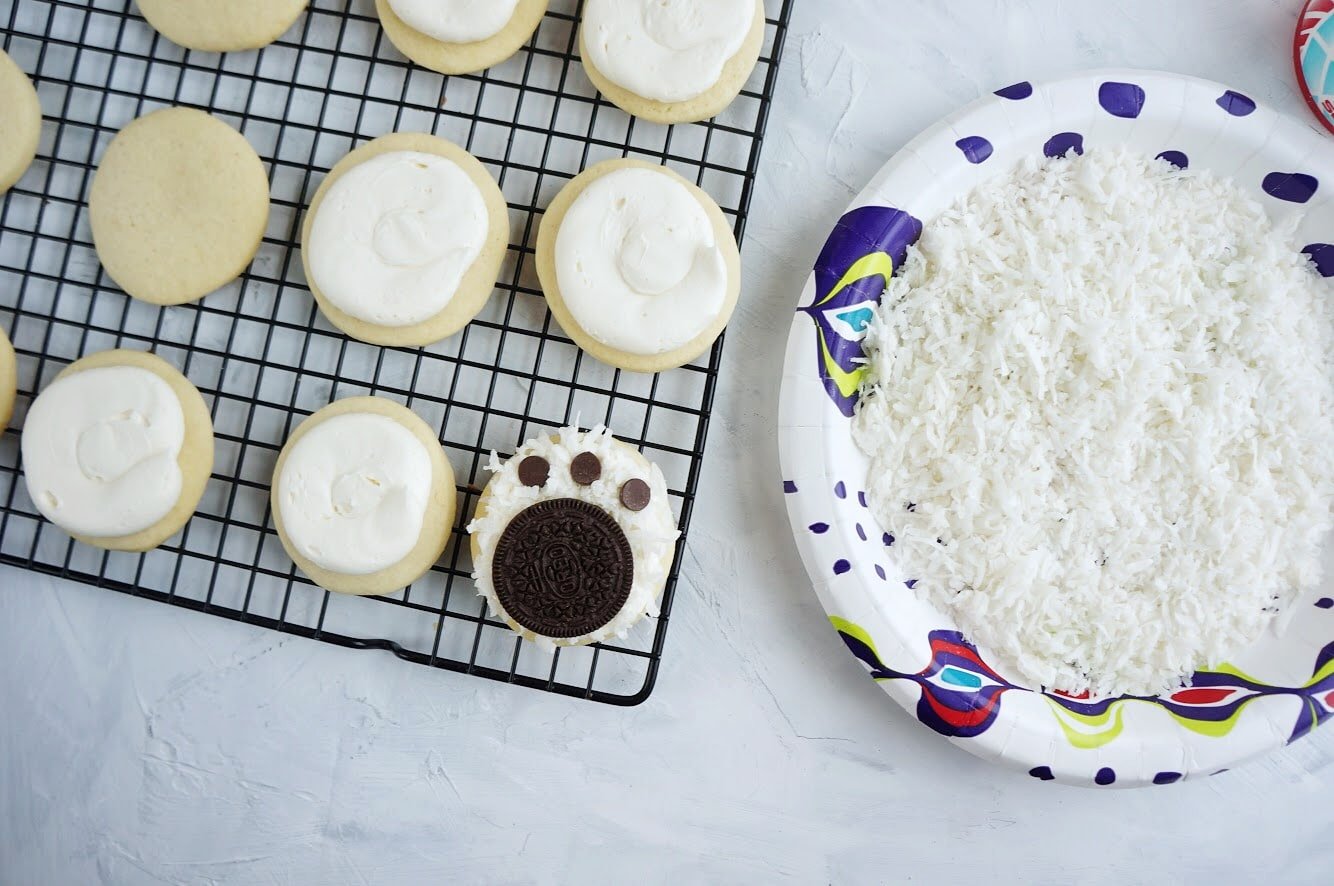
While your cookies are baking, you can gather your ingredients. For these Polar bear sugar cookies, you’ll need something to make the paw, eyes and ears.
For the paw:
You’ll need something around and chocolate or chocolate covered. I used an Oreo, but you could use a Peppermint Patty, a thin mint cookie, or something similar!
For the toes:
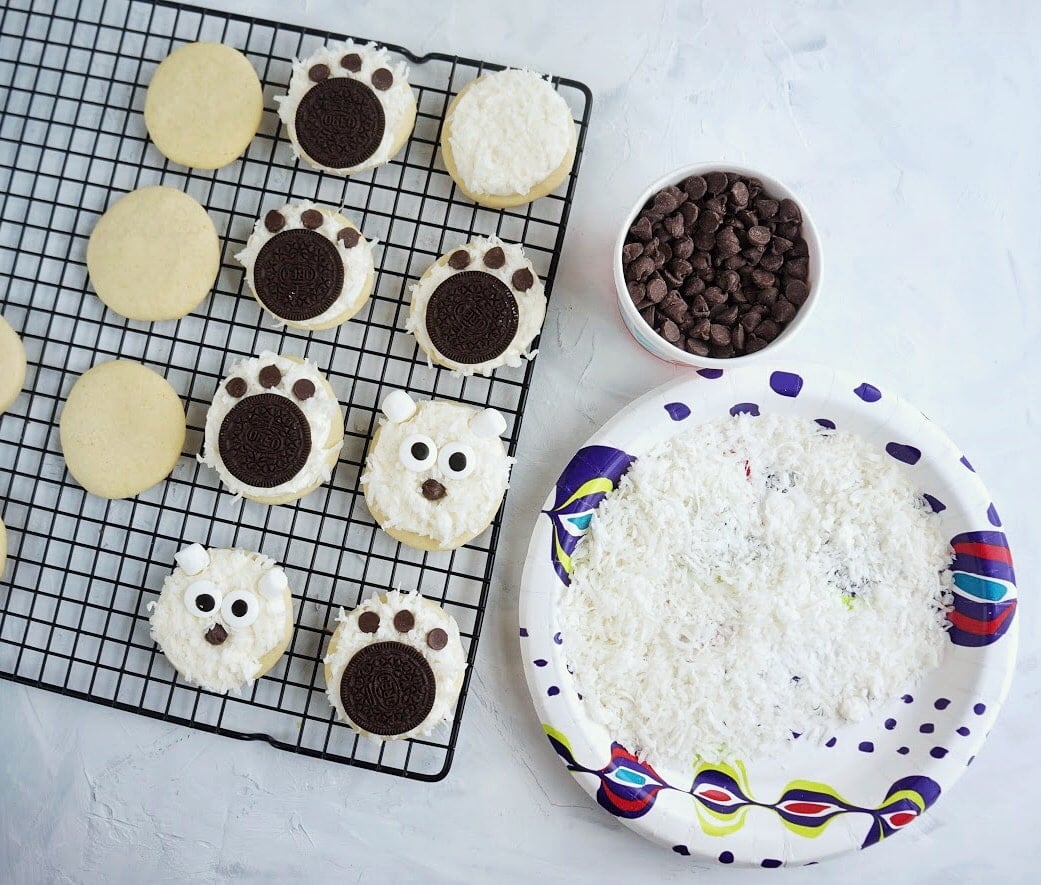
I used chocolate chips for both the toes and nose of the polar bear. You could use the brown chocolate M&M’s as well! The kids could pick these out from the other colors in the M&M bag. Place each ingredient in Solo’s paper snack bowl for easy access for the kids.
For the polar bear ears, eyes and fur:
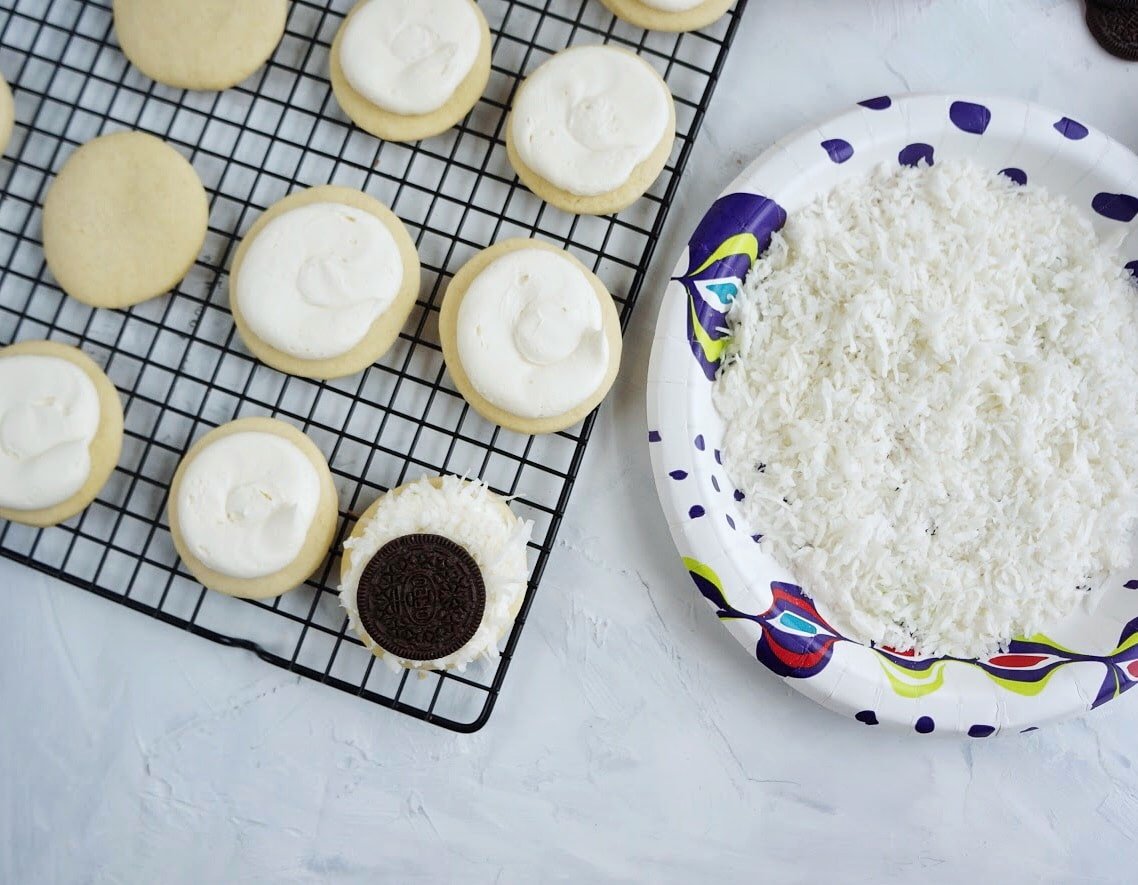
I used candy eyes and mini marshmallows for the ears on these polar bear sugar cookies. The fur will be made from sweetened shredded coconut.
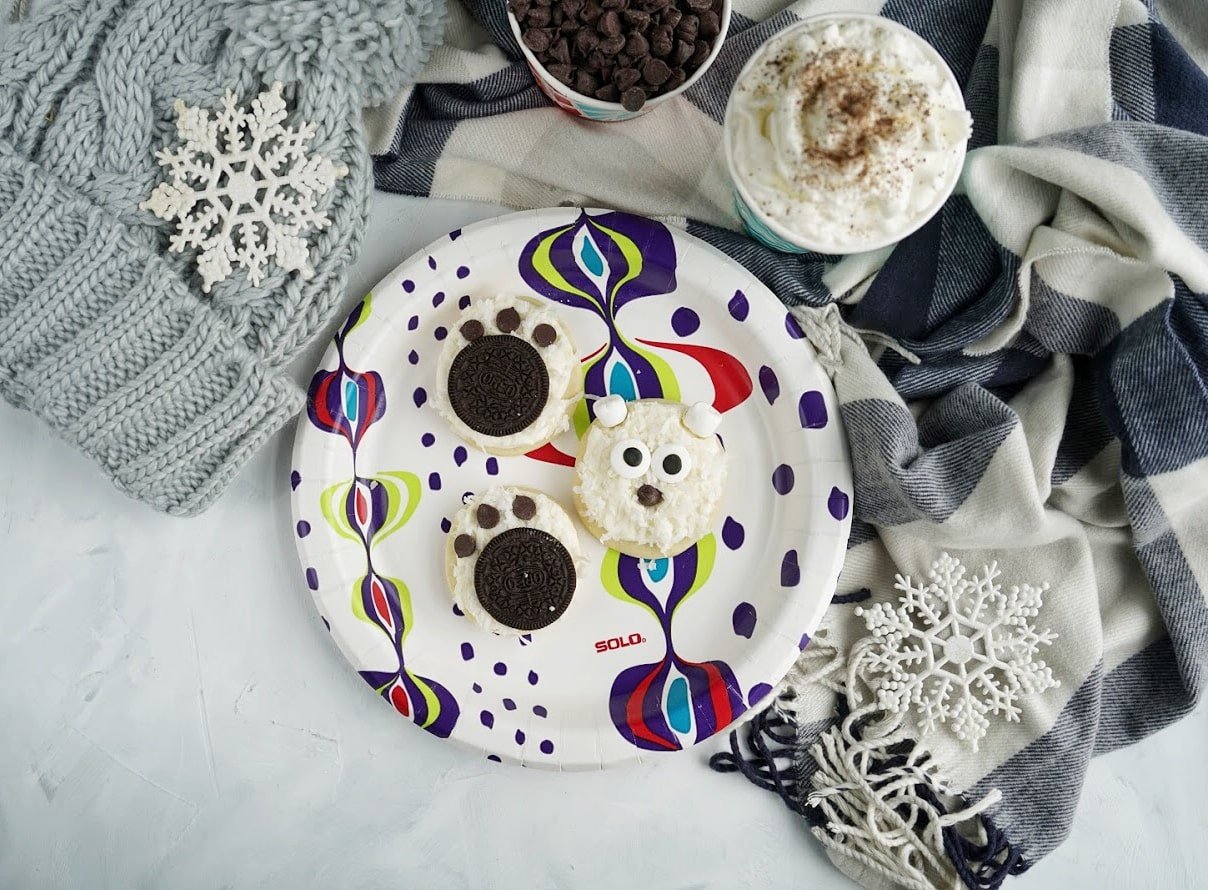
Start by frosting the cookies with a delicious buttercream. Using a piping bag or a mini offset spatula, frost each sugar cookie. Put the shredded coconut on a Solo 10″ paper plate. Once the cookie is frosted, press the frosted side down onto the coconut. Flip over and place the Oreo “paw” near the bottom, and three chocolate chips pointed side down on top of the Oreo.
How do I make the polar bear face cookie?
For the polar bear face cookie, after pressing the cookie in the shredded coconut, place a chocolate chip “nose” in the center, pointed side up, two eyeballs north of the nose, and two mini marshmallows on either side of each eye on the top of the cookie.
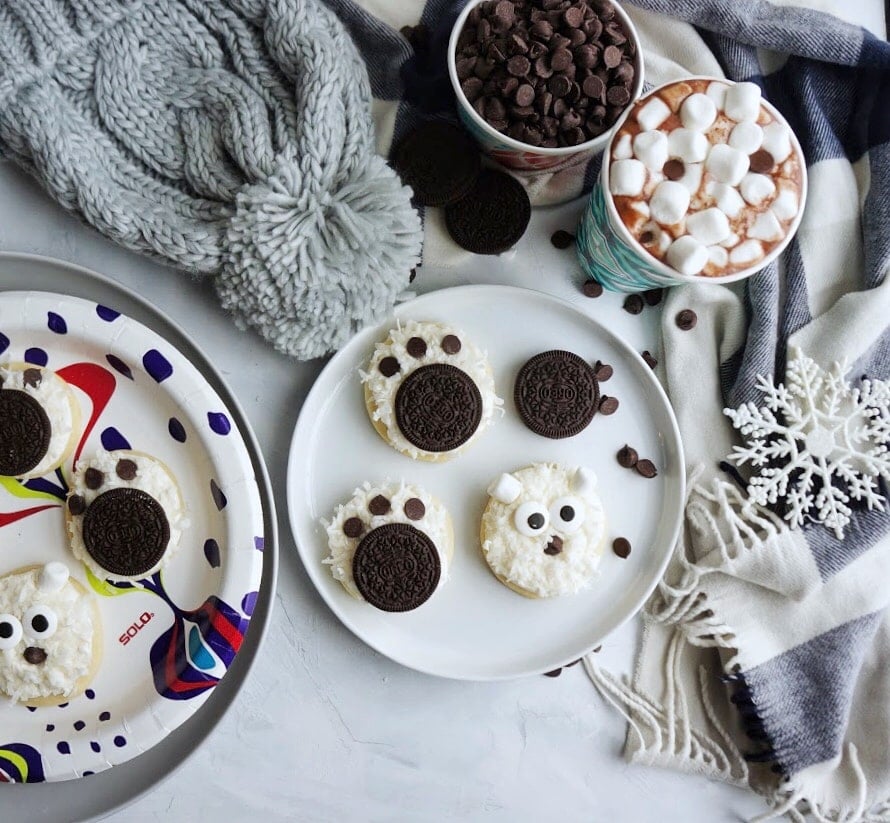
Once you’re finished, serve these cute polar bear sugar cookies with a warm cup of cocoa with some extra marshmallows and chocolate chips on top!
Ingredients
For the cookies:
- 1 cup butter, softened
- 1 cup heavy cream, at room temperature
- 1 cup sugar
- 2 teaspoons vanilla
- 2 eggs, at room temperature
- 4 teaspoons baking powder
- 4 cups flour
For the buttercream:
- 1 lb butter, softened
- 6 cups powder sugar
- 2 tbl milk
- 2 tsp vanilla extract
Directions
- FOR THE COOKIES: Cream the butter until light and fluffy, about 3 minutes. Add the heavy cream, sugar, vanilla & eggs. Mix until combined. Add the baking powder and flour and mix well.
- Shape the dough into a circle/ball & wrap in saran wrap. Cool in the fridge overnight or for several hours.
- Pre-heat your oven to 350 degrees. Roll out the dough on a floured surface. (I prefer them nice & thick about 1/2″ but anywhere between 1/4″ -1/2″ is good.) Use a 3″- 3 1/2″ circle cookie cutter. Place circles on a parchment lined cookie sheet. (These cookies spread a little while baking, so they don’t do well when cut into other shapes)
- Bake for 8-10 minutes (depending on the size of your circle) or until bottoms are a very light brown. Check at 8 minutes & DO NOT overcook or they will be dry. Take them out right when they are done and don’t look wet on top.
- FOR THE FROSTING: Cream the butter, powdered sugar and milk, for 5 minutes on high. Slow speed and add vanilla. Beat till smooth and creamy.
- You can pipe the frosting on the cookies or use a mini offset spatula. I piped it on.

