Looking for a windy day STEM project? Make your own Solo Cup anemometer. This clever creation will blow you away.
What do you need to create a DIY Anemometer?
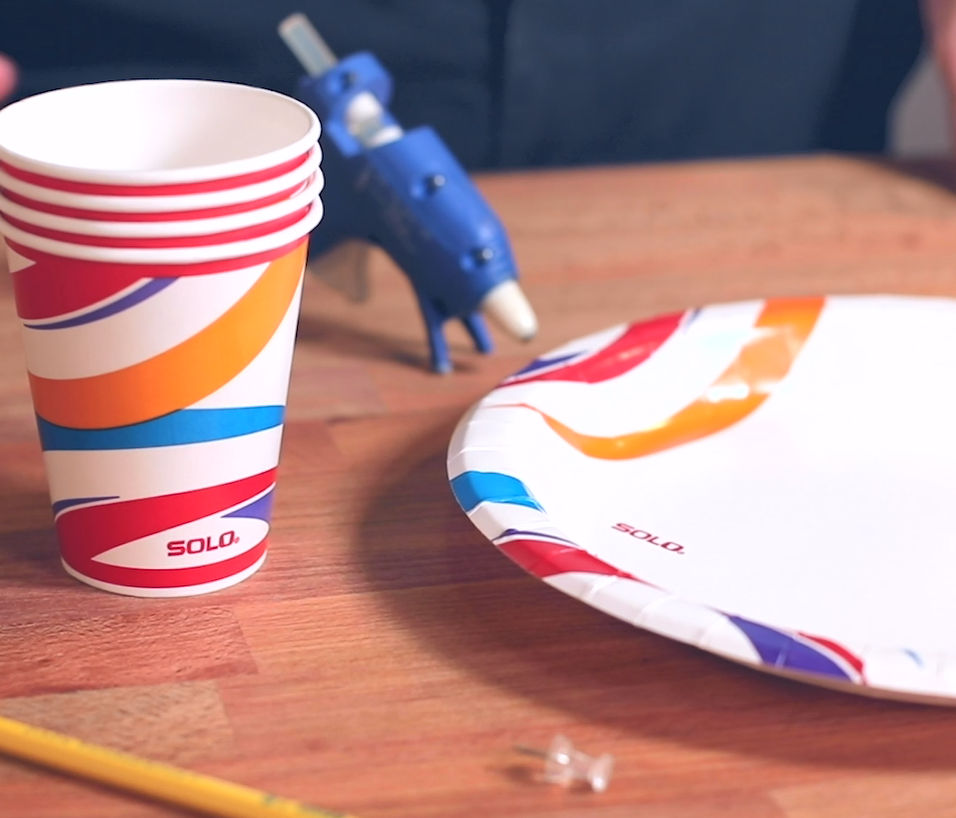
- Thumb tack
- Pencil
- Solo Paper Plate
- (4) Solo Paper Cups
- Glue
How to make a DIY Anemometer?
Follow these easy steps to create your own DIY anemometer with Solo Paper Plates and Cups.
Step 1
Apply glue to the side of a Solo Paper Cup and glue it the edge of your Solo Paper Plate.
Step 2
Repeat that process for all four paper cups and space them evenly around the edge of your plate.
Step 3
Put the thumb tack through the center of your plate.
Step 4
Use your pencil to mark a large ‘x’ on one of the cups.
Step 5
Then, push the eraser of the pencil into the thumb tack to create your handle.
You’re all set! Find a windy spot and count the number of times the cup with the ‘x’ rotates around in 30 seconds. Record that number. Repeat this for 5 days. Then use online wind speed data to match the number of rotations to the wind speed that day.

